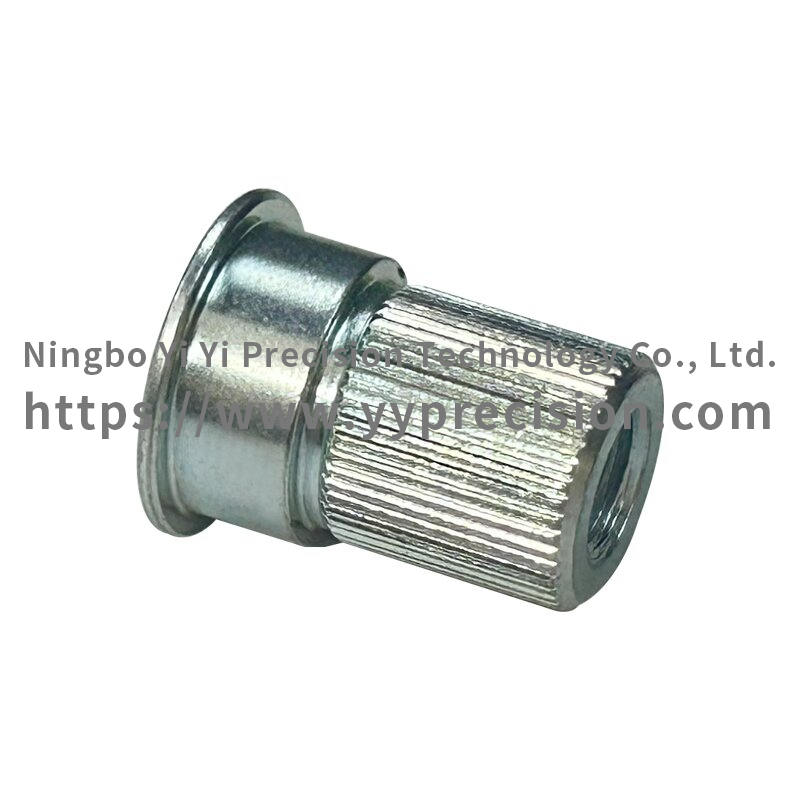
Stainless Steel Crank Shaft
Material:Shaft

1. Dimensional error: The size of the processed parts does not meet the design requirements, which may be caused by insufficient machine tool accuracy, tool wear, measurement errors, etc.
2. Shape errors: For example, cylindricity, roundness, straightness, etc. do not meet standards. This may be caused by wear of machine tool guide rails, improper workpiece clamping, uneven tool wear, etc.
3. Poor surface roughness: The turning surface is rough and not smooth. The reasons may include unsharp cutting edges, unreasonable cutting parameters, machine tool vibration, etc.
4. Vibration marks: Periodic ripples appear on the machined surface, usually due to insufficient rigidity of the machine tool, unstable cutting process, and weak clamping of the workpiece or tool.
5. Burns: There are signs of overheating, discoloration or even burns on the surface. This is often caused by excessive cutting speed, too small feed, insufficient cooling, etc.
6. Tool chipping: The tool is suddenly damaged during the cutting process, which may be due to excessive cutting force, inappropriate tool material, improper cutting parameters, etc.
7. Residual stress: Internal stress generated during the turning process may cause parts to deform during subsequent use.
8. Thread defects: such as inaccurate thread profile, pitch error, poor thread surface roughness, etc., which may be related to the tool, machine tool accuracy, processing parameters, etc.
